
Replacing, renovating, or just deep-cleaning your bathroom might necessitate removing your shower doors. But how exactly do you accomplish that task? The process might seem daunting, but it doesn’t have to be. By following this step-by-step guide, you’ll learn how to remove shower doors safely and efficiently.
Understanding Shower Doors
Shower doors are typically made of glass panels and are used in bathrooms to prevent water from splashing out of the shower area. They can either be sliding doors that move on tracks or hinged doors that swing open. Whether you’re dealing with sliding or hinged shower doors, removal will generally follow a similar process.
Necessary Tools and Safety Precautions
Before you get started, it’s important to gather your tools. You’ll likely need:
- Screwdriver
- Drill (if your doors are drilled into place)
- Utility knife
- Rubber mallet
- Protective gloves
- Safety glasses
Safety should always be a top priority when dealing with glass and metal objects. Wear protective gloves and glasses to avoid cuts or eye injuries. It’s also recommended to have a partner assist you, especially with heavy doors.
Step-by-Step Guide to Remove Shower Doors
Step 1: Detach the Door
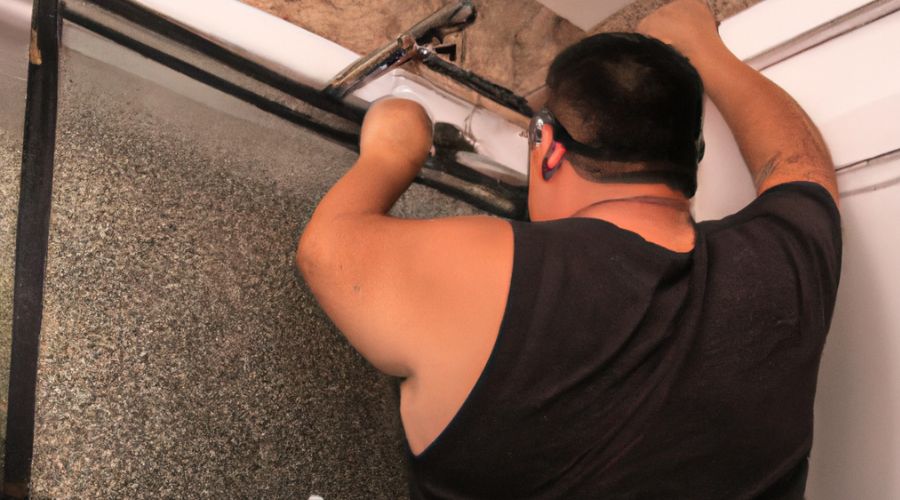
If you have a sliding door, lift it up until the rollers clear the track’s edge. Angle the bottom of the door toward you and gently pull it free. If it’s a hinged door, you’ll need to unscrew the hinges from the frame or wall with your screwdriver or drill.
Step 2: Remove the Door from the Track
After you’ve removed the door, set it aside in a safe place to prevent it from being damaged or causing injuries. If you have a sliding door, repeat this step for the second door.
Step 3: Unscrew the Frame
Start with the vertical frame pieces on the sides of the shower opening. Depending on the shower door model, you might need to use a drill or screwdriver to remove the screws securing the frame to the wall.
Step 4: Remove the Bottom Track
The bottom track is usually sealed to the shower or tub with caulk. Use a utility knife to cut through the caulk on both sides of the track. After you’ve cut through the caulk, you should be able to lift the track off the tub or shower base. If it doesn’t lift easily, gently tap it with a rubber mallet to loosen it.
Step 5: Clean the Area
Once you’ve removed the entire frame and doors, clean the area thoroughly. There will likely be caulk residue left behind. You can use a plastic scraper to remove large pieces, then a scrubbing pad with mild detergent for the remaining residue. If there are any stubborn spots, a caulk remover can be used, following the manufacturer’s instructions.
Step 6: Fill and Paint Holes
If your shower door frame was screwed into the wall, there will be holes left behind. You can fill these with a little spackling compound, let it dry, then sand it smooth. After that, you can touch up the paint to match the rest of the bathroom.
Conclusion
Removing shower doors might seem like a hefty task, but with the right tools and a systematic approach, it can be accomplished by most do-it-yourself enthusiasts. However, if your shower doors are heavy, large, or if you’re not comfortable with the process, it’s always a good idea to hire a professional to avoid potential injuries or damage to your bathroom. And remember, safety should always come first, so make sure to protect yourself with gloves and safety glasses as you undertake this project.